This time, we will take you through the hot sands of El Halluf and suggest the best strategies for the map in this guide prepared by Wizard, our CIS community manager.
El Halluf is a sandy map that will appeal to all players regardless of their tank class preferences. On this map, each vehicle plays an important role in battle. This is different from the Prokhorovka map, for example, where heavy tanks have the hardest time.
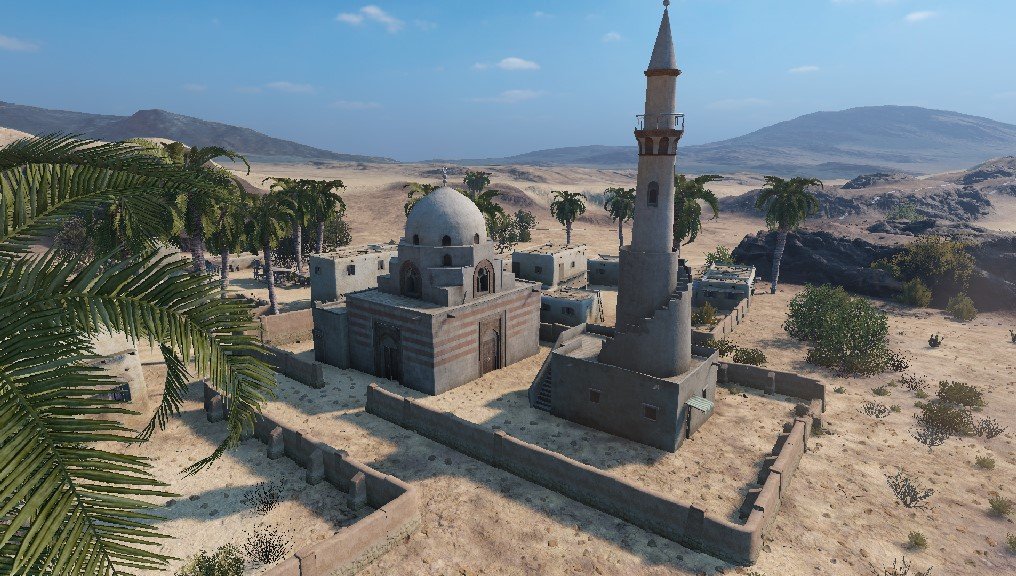
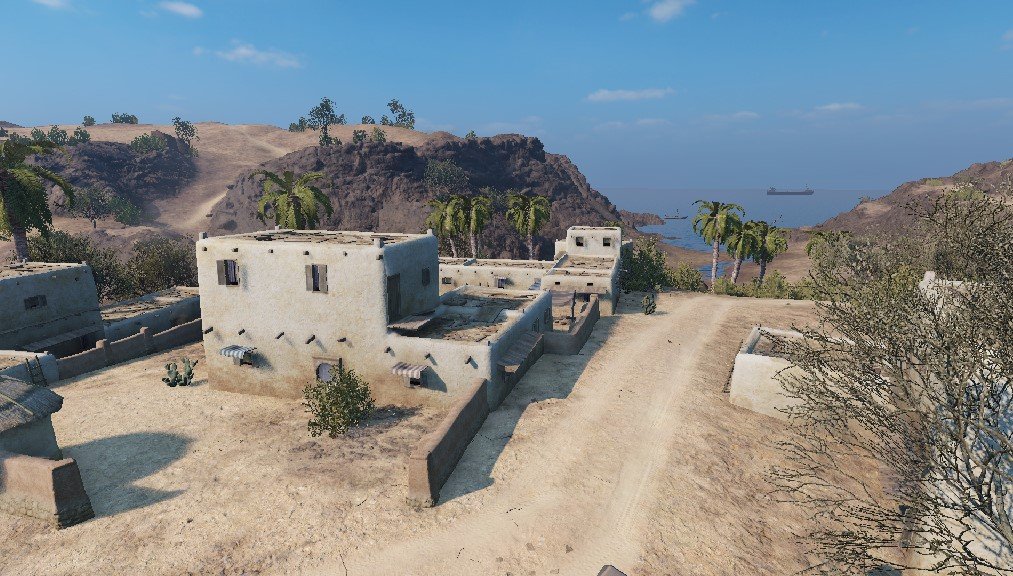
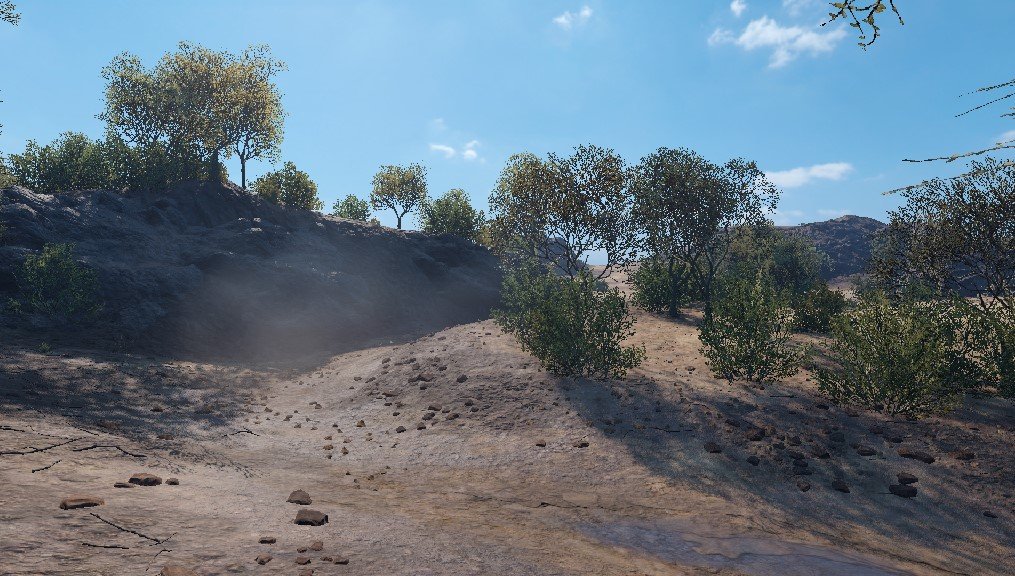
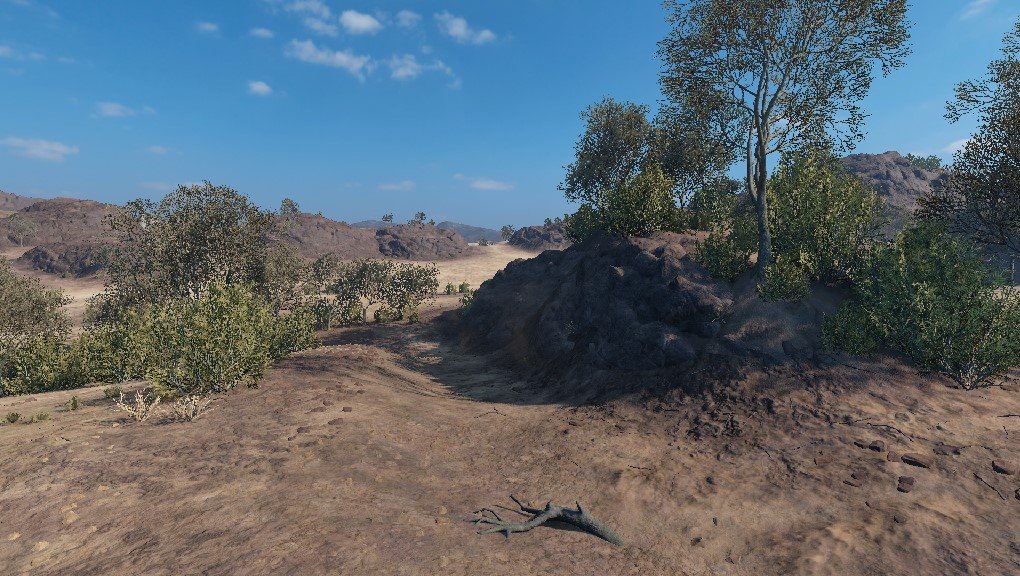
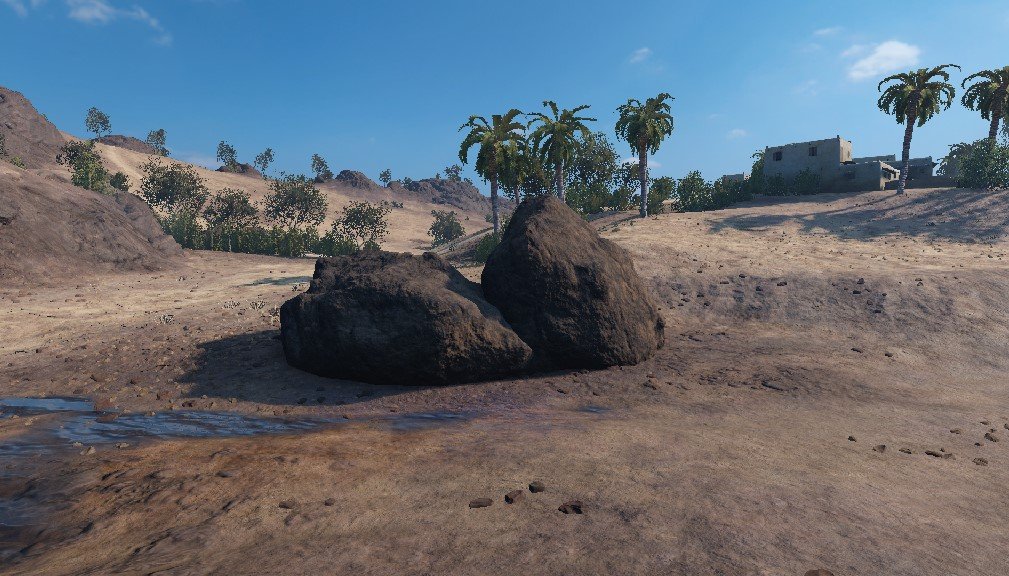
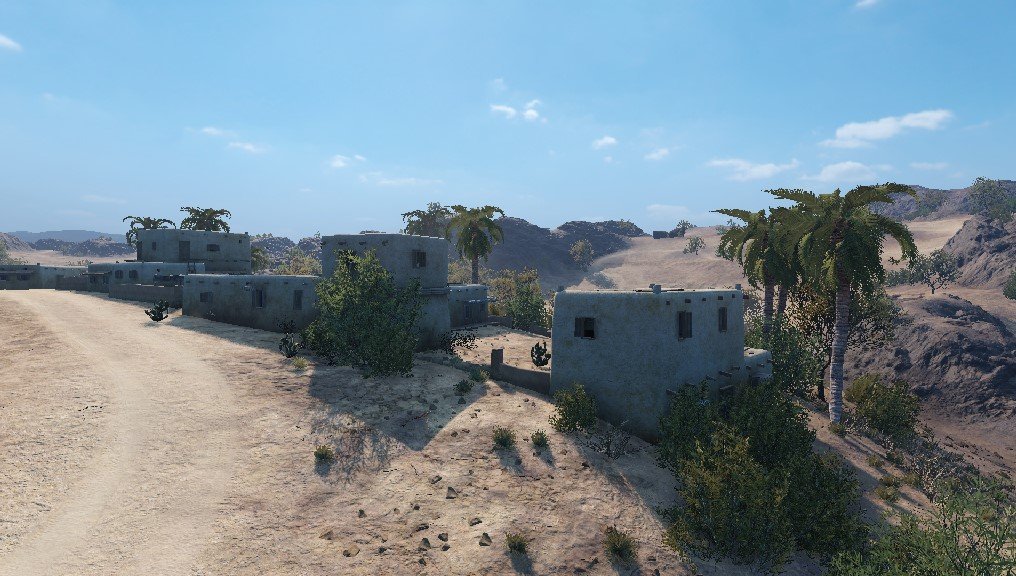
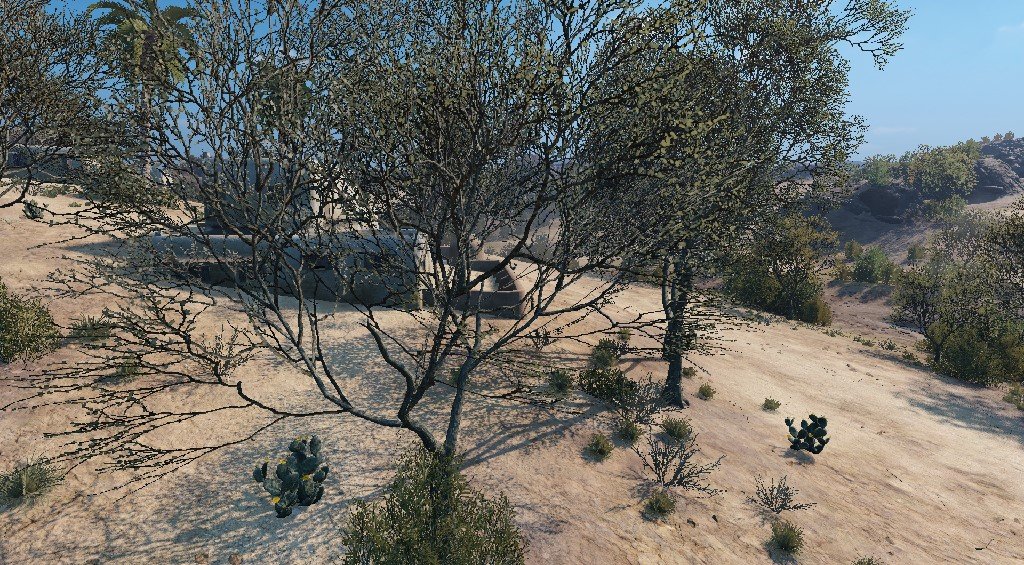
First, let’s take a look at the map itself. Both teams start the battle next to small settlements located on the mountain. Almost all objects there are destructible. In the center of the map, there is a large valley with a dried-up river bed and a small village where objects can also be easily destroyed.
In the western part of the map (A1-B1-A2-B2), there is an area where the main battles between heavy or, depending on the team, medium tanks take place.
Below we would like to share some gameplay tips for each vehicle class on the El Halluf map.
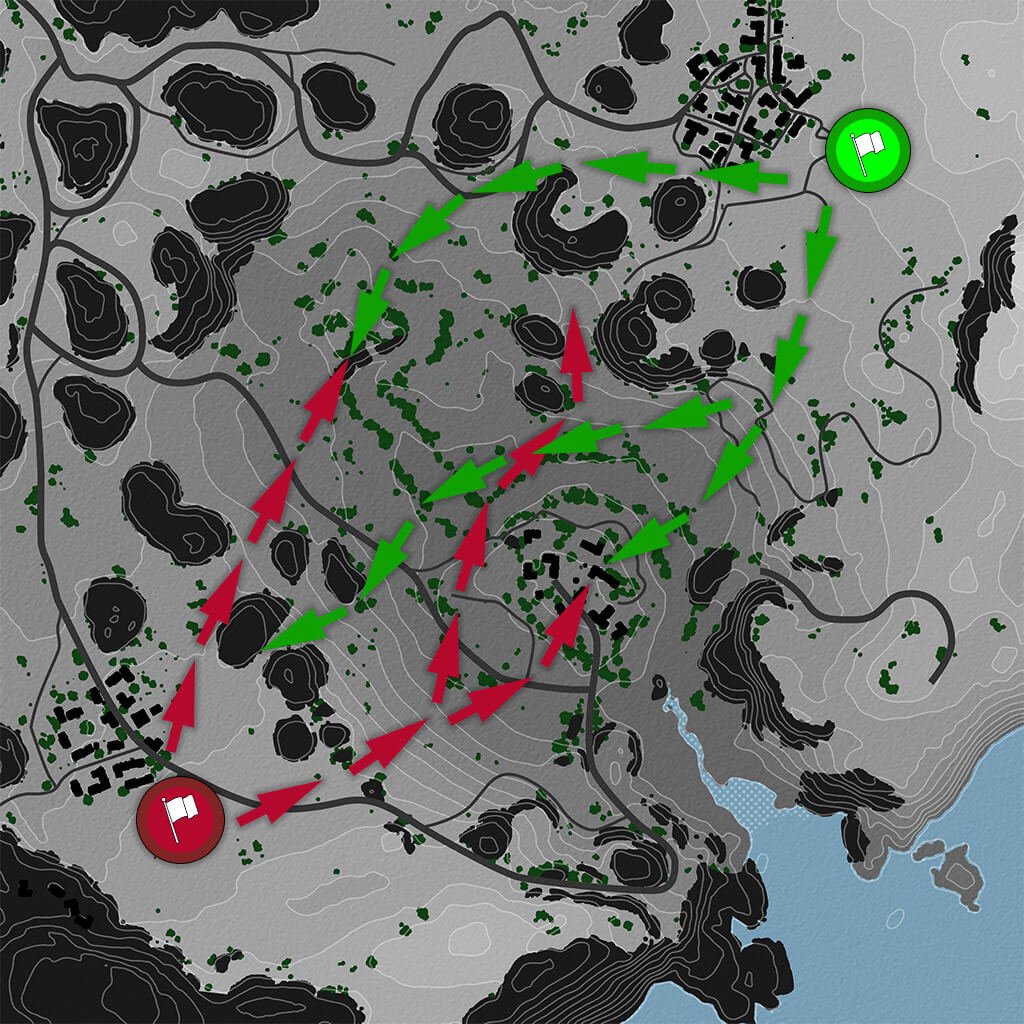
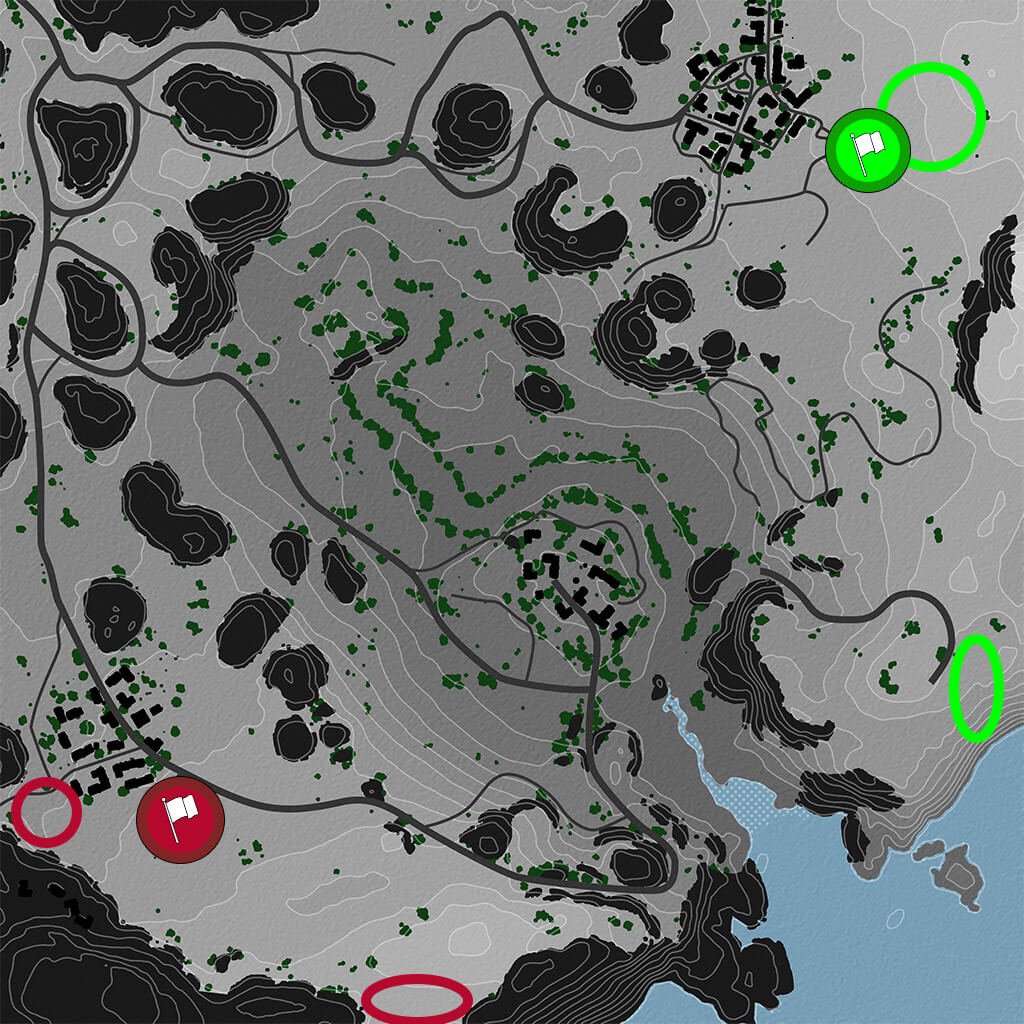
Note: The dark arrows in the maps below indicate the priority directions, while the light arrows mark the non-priority ones.
Light Tanks
The main task of light tanks on El Halluf is to spot enemies in the passages leading to the mountain in the north to help allied tank destroyers and SPGs take out the opposing team’s heavy and medium vehicles. Once the enemy crosses the passages, light tanks move on to spot tank destroyers on the slopes.
To complete these tasks, at the very beginning of the game light tanks descend from the hills to the center of the map and select suitable areas to do the spotting. Possible options are near the hill (D4) or in the destroyed city (F6). From the south base, you can use J6 and J7, and from the north base the G9 square. However, these positions are suitable only for experienced tankers. We do not recommend them to new light tank commanders.
Once the main task is completed, the opponents are left with only SPGs and heavy tanks in the western part of the map. You can drive up the mountain, destroy SPGs, and start firing at heavy tanks if your allies haven’t destroyed them by then.
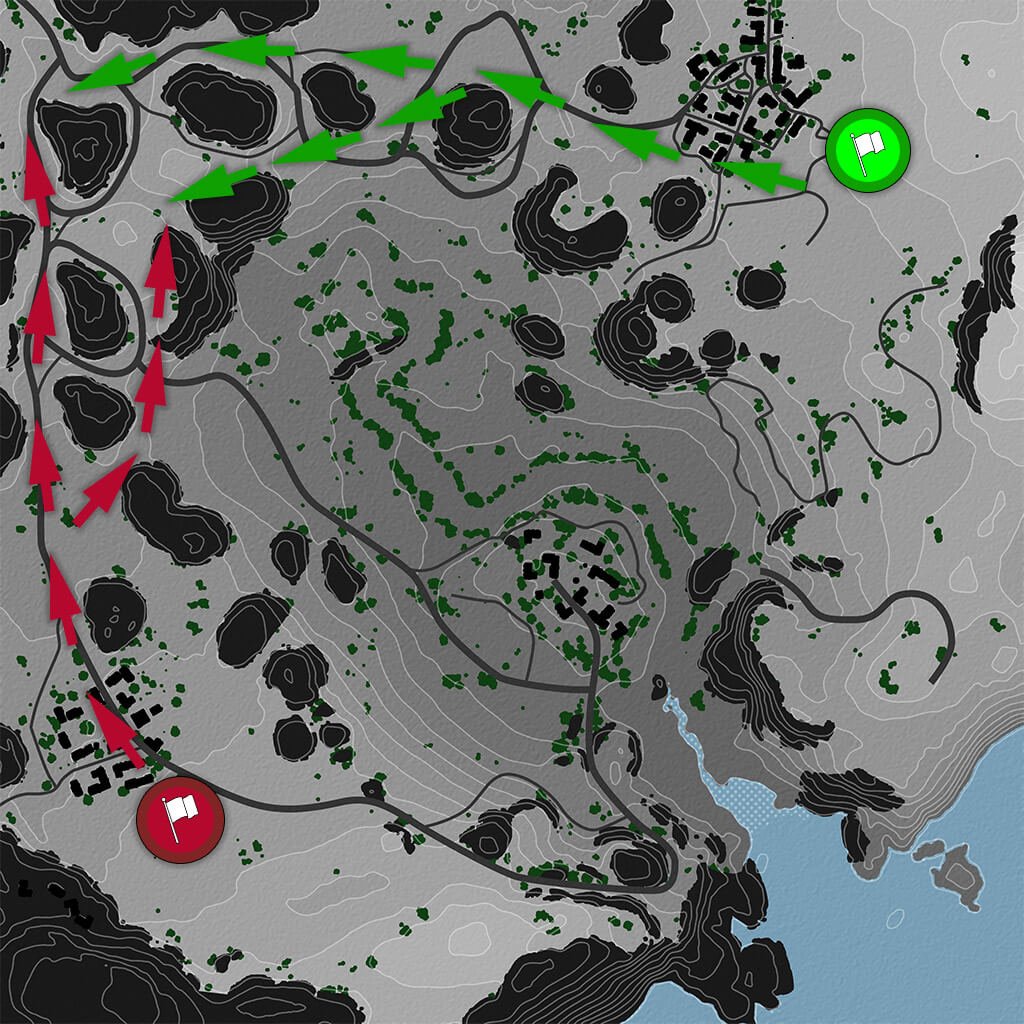
Heavy Tanks
The role of heavy tanks on El Halluf is to capture the most important hill in the northwest of the map, where the main battles take place. There are no other directions for this vehicle class. So, no matter what, don’t stay at the base, don’t stay close to tank destroyers, and never go down into the valley!
Your only task is to drive to points A1-B1-A2-B2 and destroy enemy vehicles together with your allies. The battle there will be positional: after each shot, you’ll need to hide your hull and drive behind the hill to avoid getting shelled by SPGs. No need to rush when playing with heavy tanks – the patient one wins!
Tank Destroyers
The main task of tank destroyers is to deliver accurate shots at enemy tank destroyers and medium tanks located on the opposite “balconies.” To play most effectively, you need Equipment and Commander Skills that will add more concealment and increase the view range.
Although the map is perfect for tank destroyers, it’s important to remember that enemy artillery can send you back to the garage with a single shot. There is practically no protection on the “balconies,” so if you are spotted, you’ll have to immediately roll back and hide behind the hill.
Medium Tanks
There is no universal role for medium tanks on El Halluf, but here are the two most common strategies:
Medium tanks with good armor and a sturdy turret join heavy tanks in capturing the hill.
Those with good depression/elevation angles and high accuracy stay close to the base and help allied tank destroyers during shootouts.
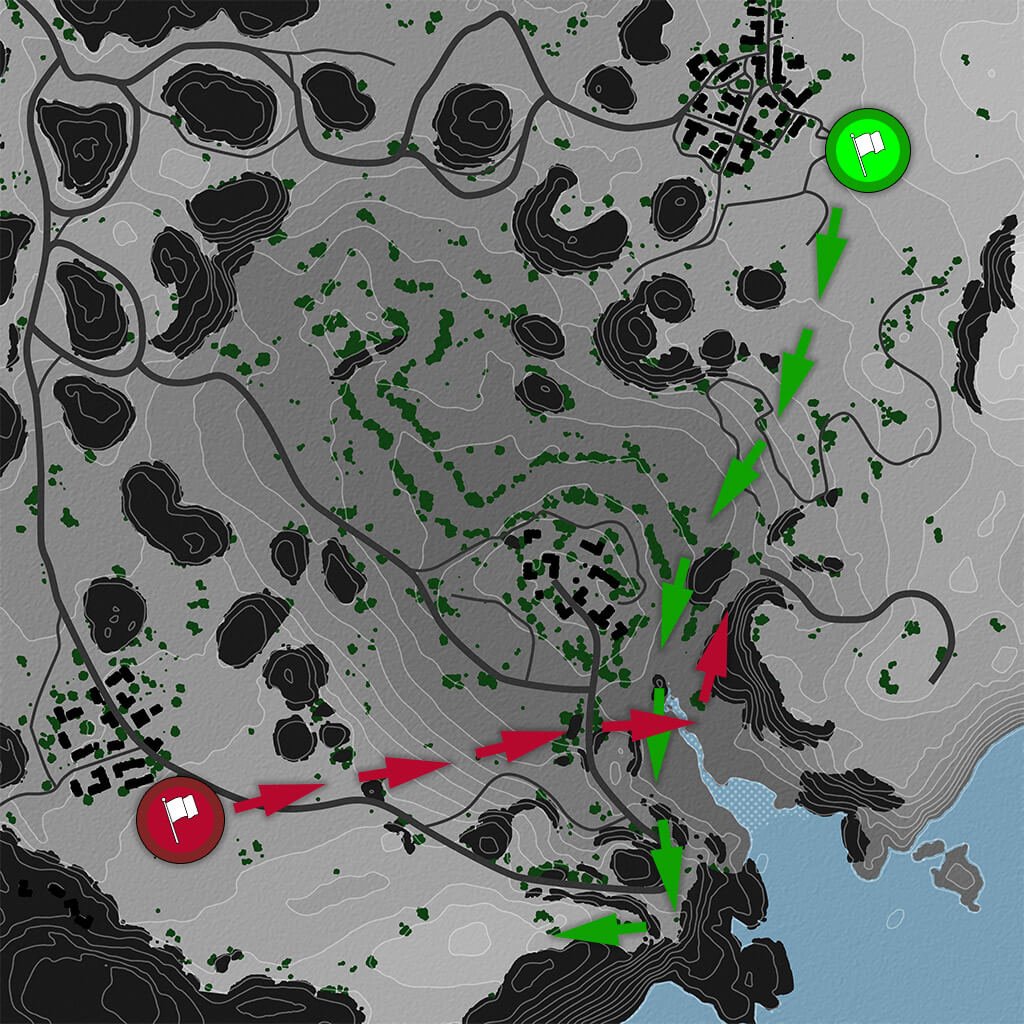
There is also a third, EXTREMELY RISKY strategy, shown in the image below. It’s suitable only for experienced tankers in command of a fast medium tank with good dynamics. This route is not recommended for medium tanks with low dynamics or commanders who are starting out. If this is you, better to forget this route and choose one of the options above.
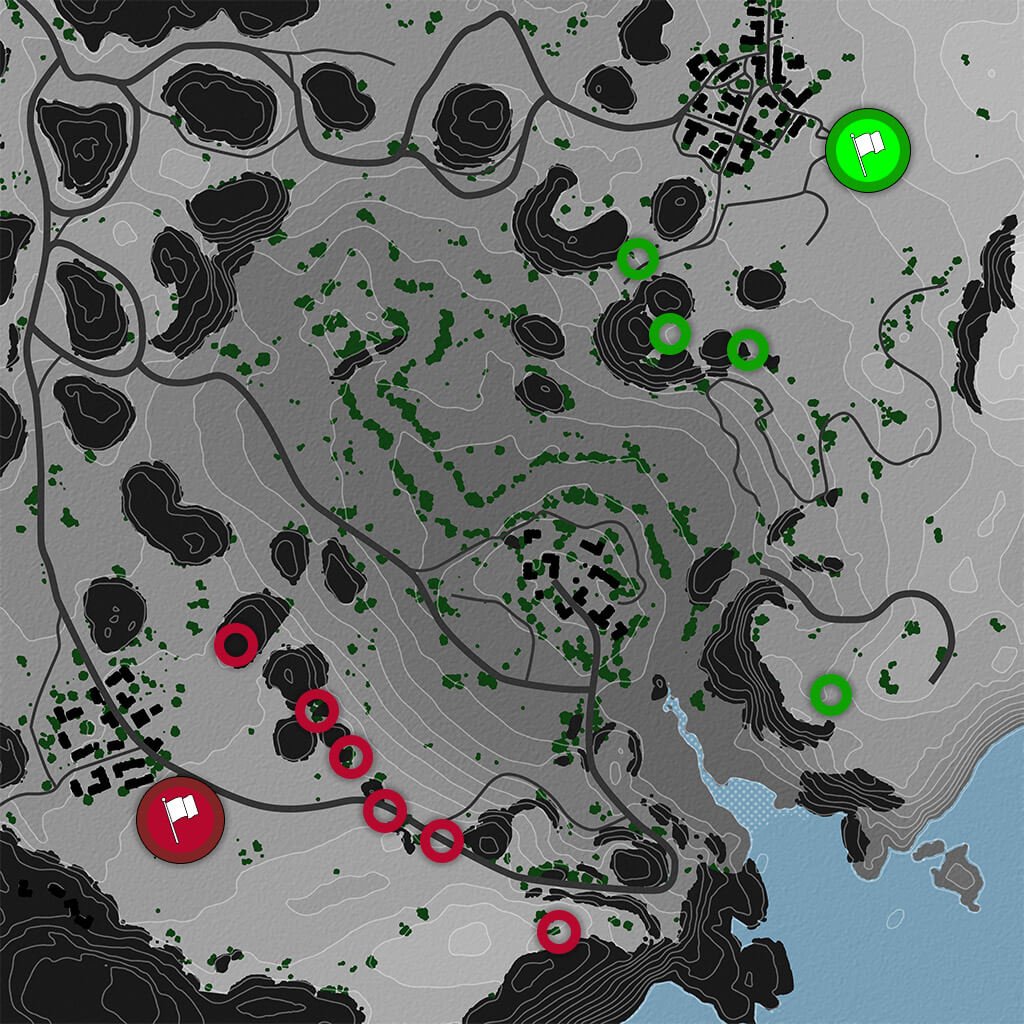
Artillery (SPG)
The task of SPGs is to deal damage and destroy enemy vehicles. El Halluf is ideal for artillery – the enemy won’t be able to spot you for a very long time, which means that you can run wild and cause some serious trouble for the opposing team.
At the very beginning of the battle, SPGs can strike at the positions of heavy and medium tanks that are driving to the northwest (both from the bottom and from the top base). Then you can calmly snipe at tank destroyers located on the “balconies,” as well as heavy tanks that expose their hull too much from behind the mountain in the northwest.
The main thing is to take the right position:
General Tips from Our Community Members
Here are some other general tips from our community members:
General Tips Provided
by Senior Ambassador Randombot
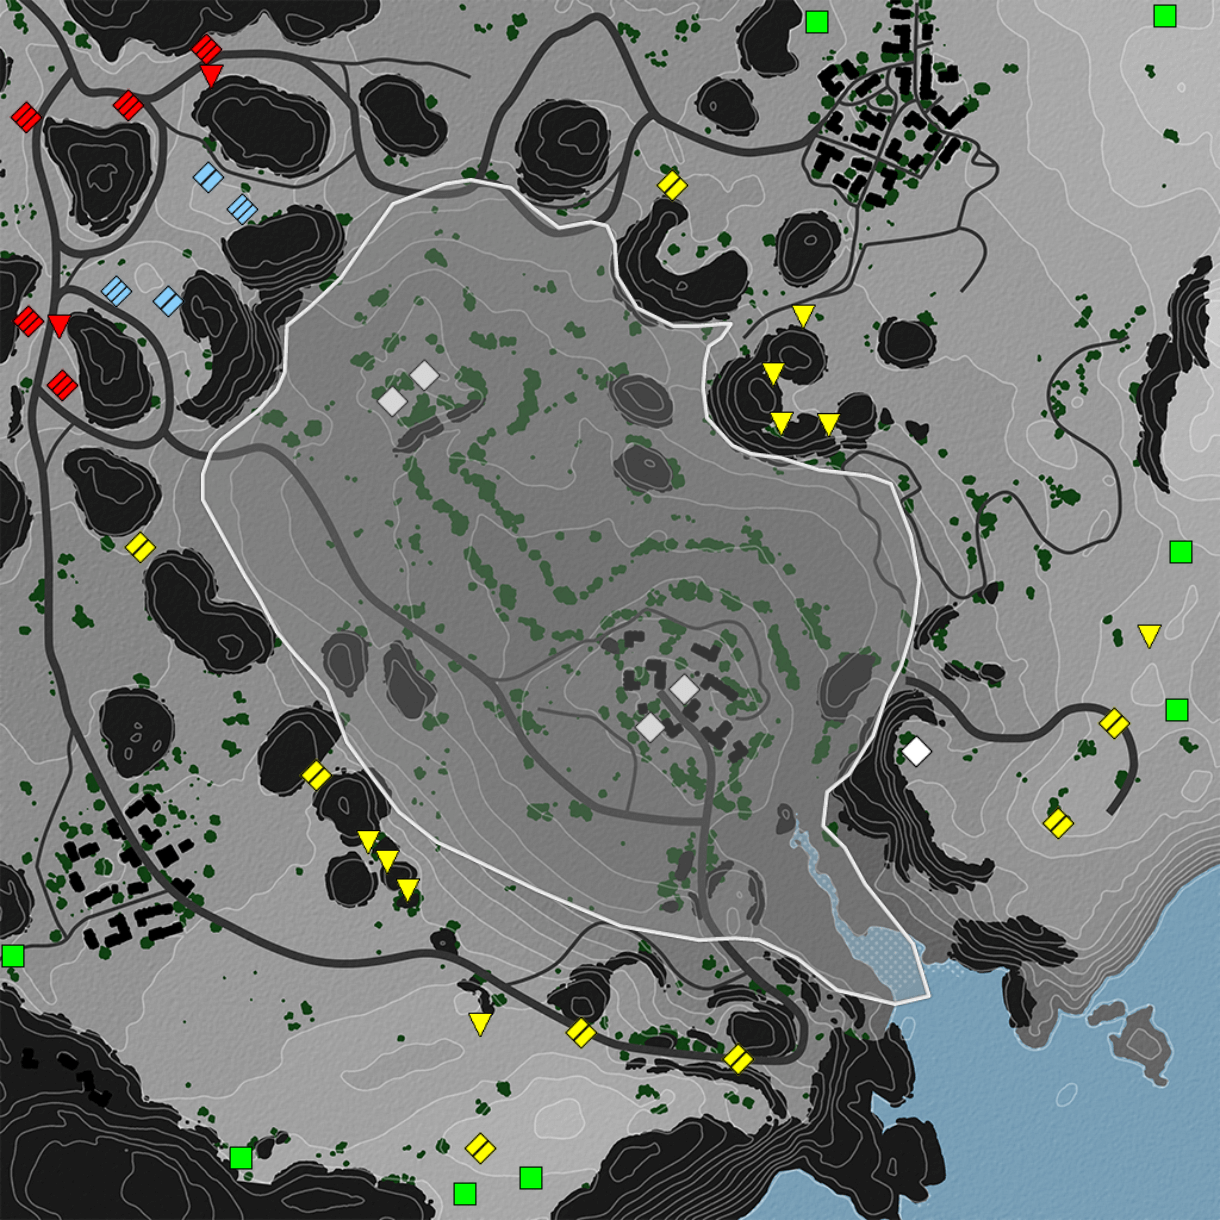
Blue – Hull-Down Heavies / Brawl Mediums
(BLUE) Hull-down heavies and mediums more armored than usual should use their armor on these spots, as most of them have really great turret armor and good gun depression.
Red – Well-Armored Heavies and TDs
(RED) All strong and well-armored heavies and tank destroyers should play on the lower side of the A1-2 B1-2 squares, as they can protect themselves with their armor and also use a technique called “side scraping.”
White Area – Light Tanks
(WHITE) Light tanks are really important for the whole duration of the battle, so these spots are safe and efficient for the team as you are able to keep your opponent on spot.
Yellow – Not-Well-Armored Medium Tanks and Tank Destroyers
(YELLOW) Lightly armored TDs and MTs are important in these spots, as they can cover their spotters, help their team in defending the base, and win the battle.
Green – Artillery
(GREEN) These arty spots allow you to have the best possible view of your opponents, depending on where they are. Remember that the farther you are, the better trajectory you have on most of the artilleries!
General Tips Provided
by Cpl Derren (WoTC Academy)
This is general advice that needs to be highly stressed:
The upper left-hand section of the map (ABCD/1234) quadrant is the primary control/brawling point of the map. All tanks that are capable of brawling need to go there as losing that section of the map will almost always spell defeat for your team if you neglect or lose it. Leave protecting the valley and base to the snipers and scouts.
Artillery Tips Provided by Our Community Contributor “Pillz16”
Getting into position on this map means moving to a place where you can effectively fire onto tanks brawling at A, B, C 1,2,3. The recommended areas for this are:
North spawn – A7, 8, 0
South spawn – E, F, G, H1, K4, 5
Arty with a high rate of fire or steep gun ark is very strong on this map.
[MERGE]
Artillery DO’s:
Try to take shots as close to the brawl points as you can to reduce flight time. Not too close, though. Be mindful of yoloing light tanks from the center.
Artillery DON’Ts:
Sit in one spot, as counter-battery is easy on this map. Make sure you have an escape plan.
To recap, the El Halluf map is well-balanced, interesting to play on for all vehicle classes, and perfect for both experienced players and newcomers. Follow our instructions and share gained knowledge with your platoon members!
See also our previous guides on the following maps: