Full_Bullhorn Full_Bullhorn
Update Notes for June 3, 2025

Estimated Update Sizes

  • Xbox One - 3.7GB
  • PS4 - 4.0GB
  • Xbox Series S|X - 4.8GB
  • PS5/PS5 Pro - 3.3GB

New Season – Overlord

The British invasion is in full swing! Leading the charge is the new General Bernard Montgomery 3D Hero Commander, available in the Ultimate Season Pass with the new Tier X FV225 dual-barrel tank! For more details on the Overlord season, please visit our dedicated season article.

That’s not all that’s available to you starting June 3rd.

Immerse yourself in 1944 Normandy on the returning and updated map, Sword Beach, or participate in the limited-time D-Day event: Sword Beach!

Furthermore, intelligence reports that elite tank units are blocking your way, and you won't succeed alone. Check out the new Regiments tab in-game to join or create a Regiment, platoon up, and secure victory.

Keep reading, Commander …

Overlord Season Key Art

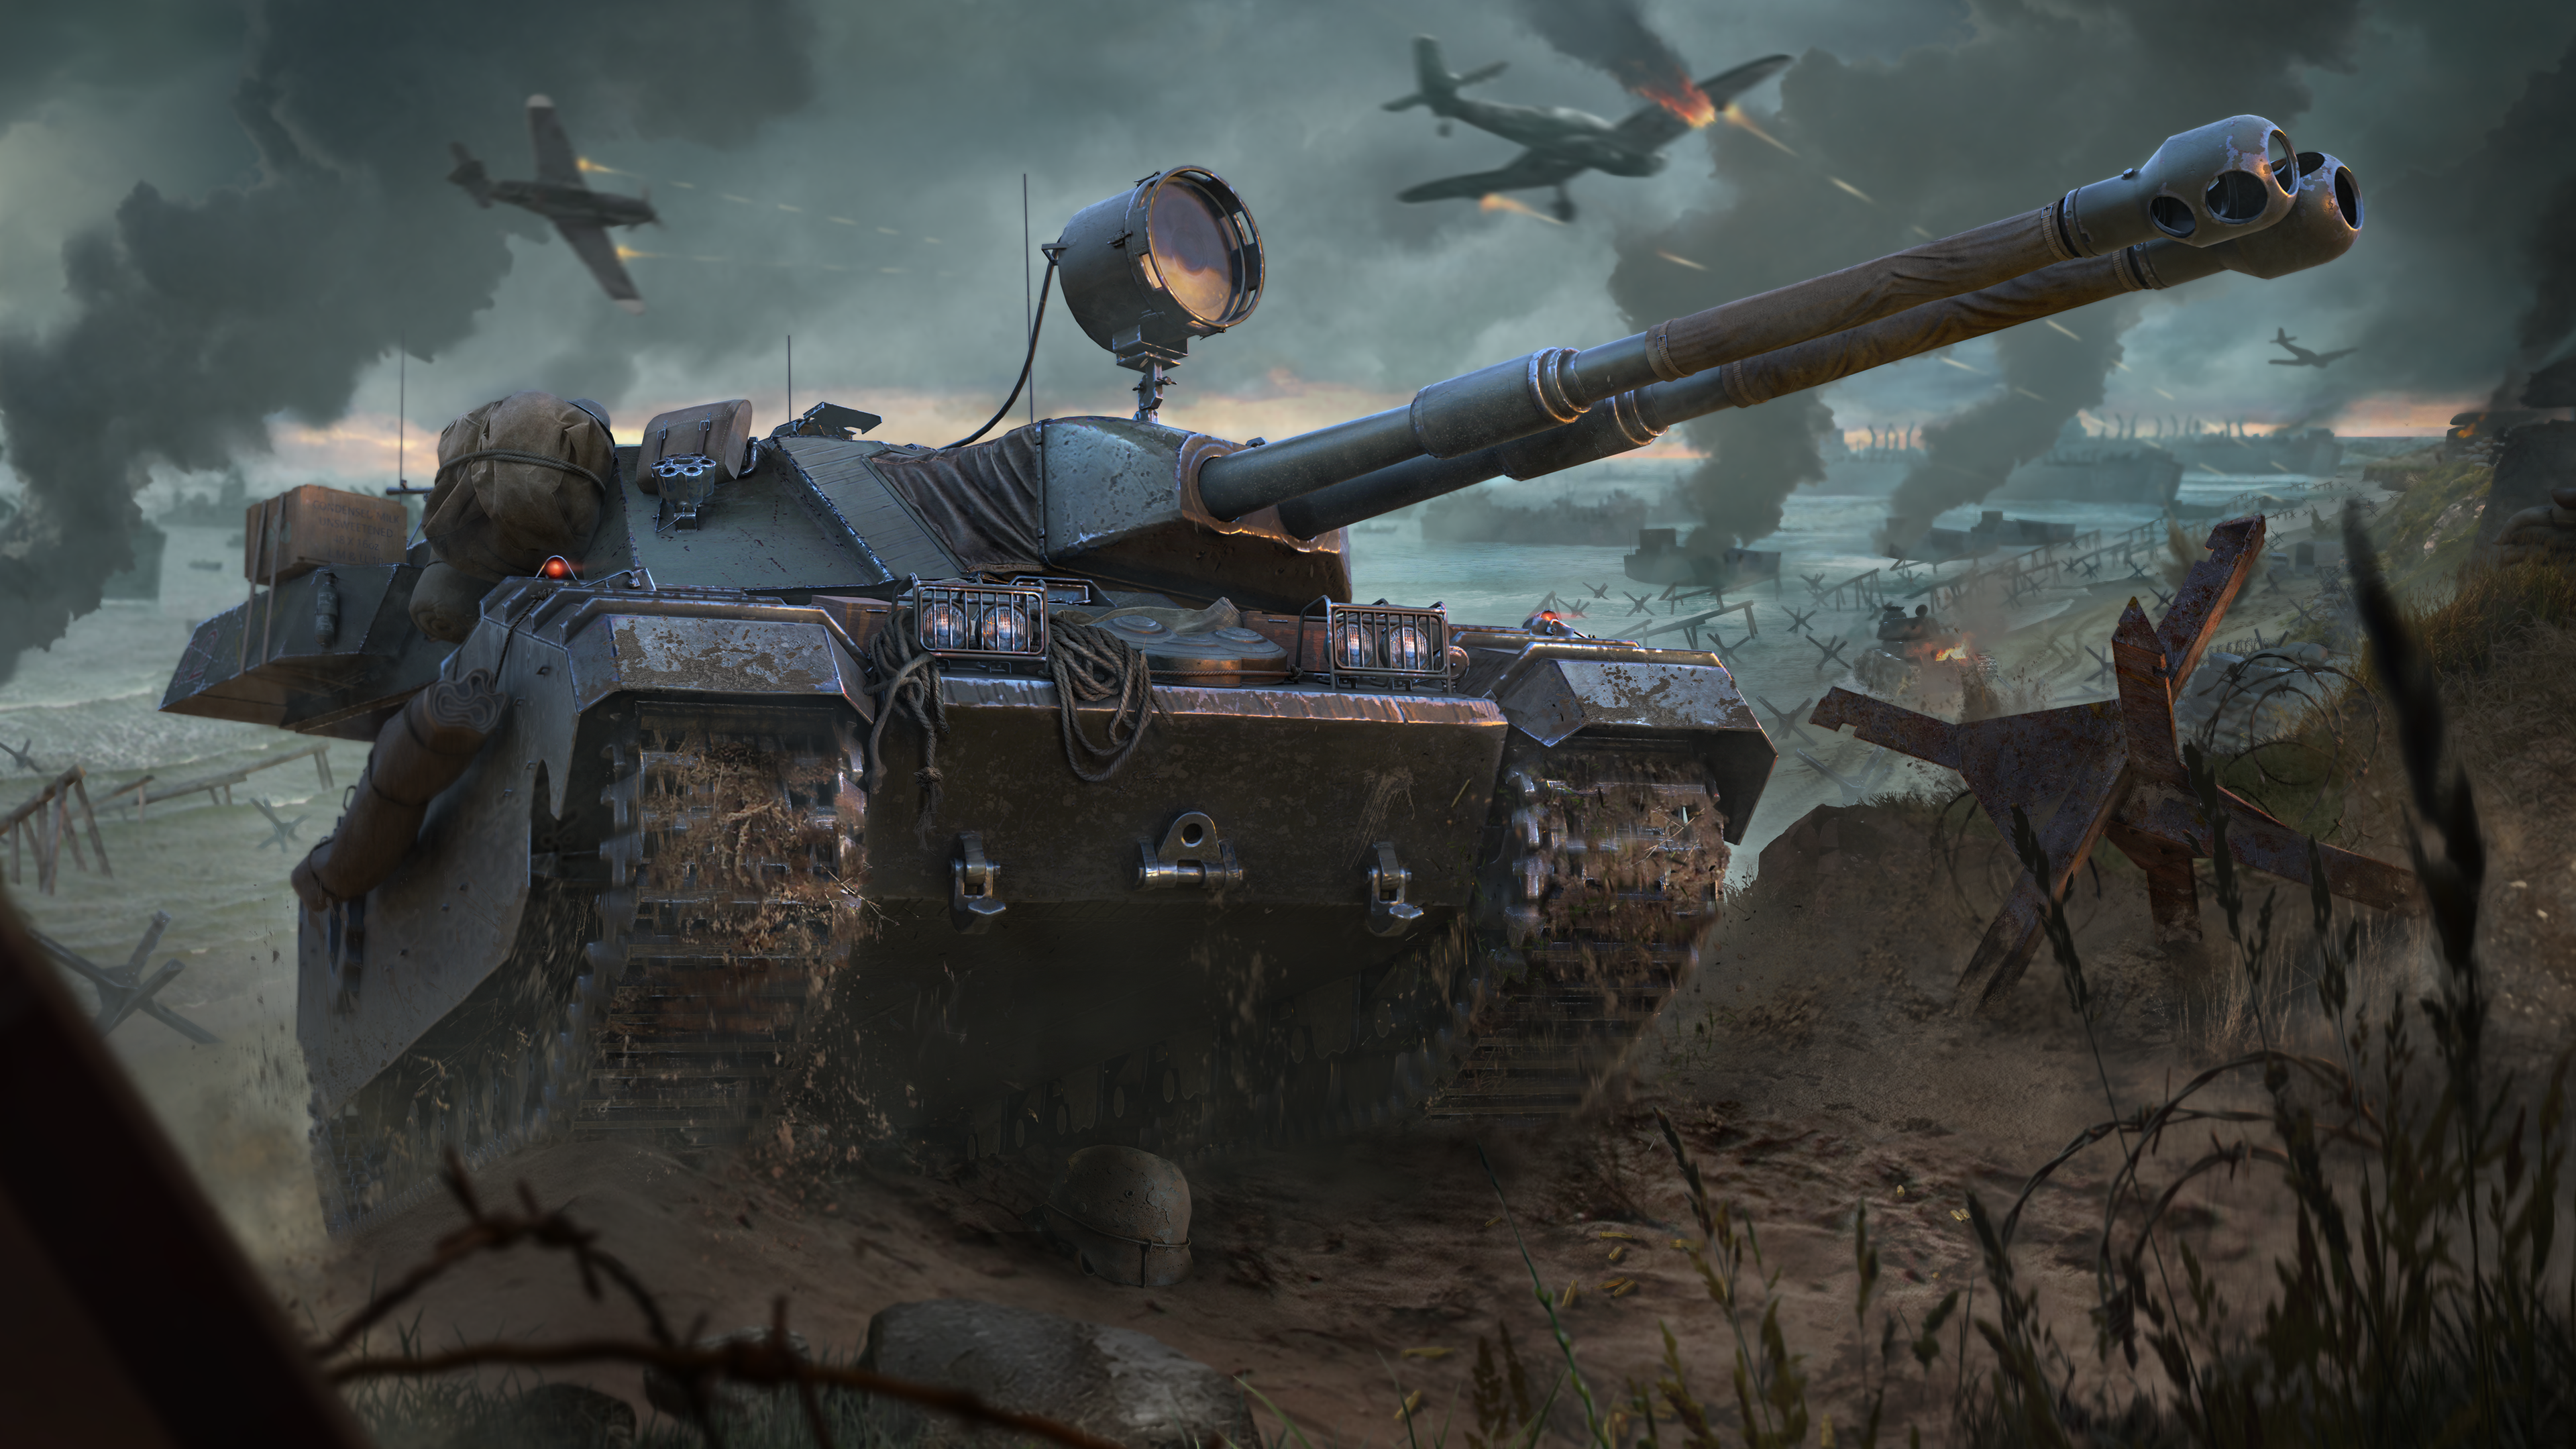
D-Day: Sword Beach Event

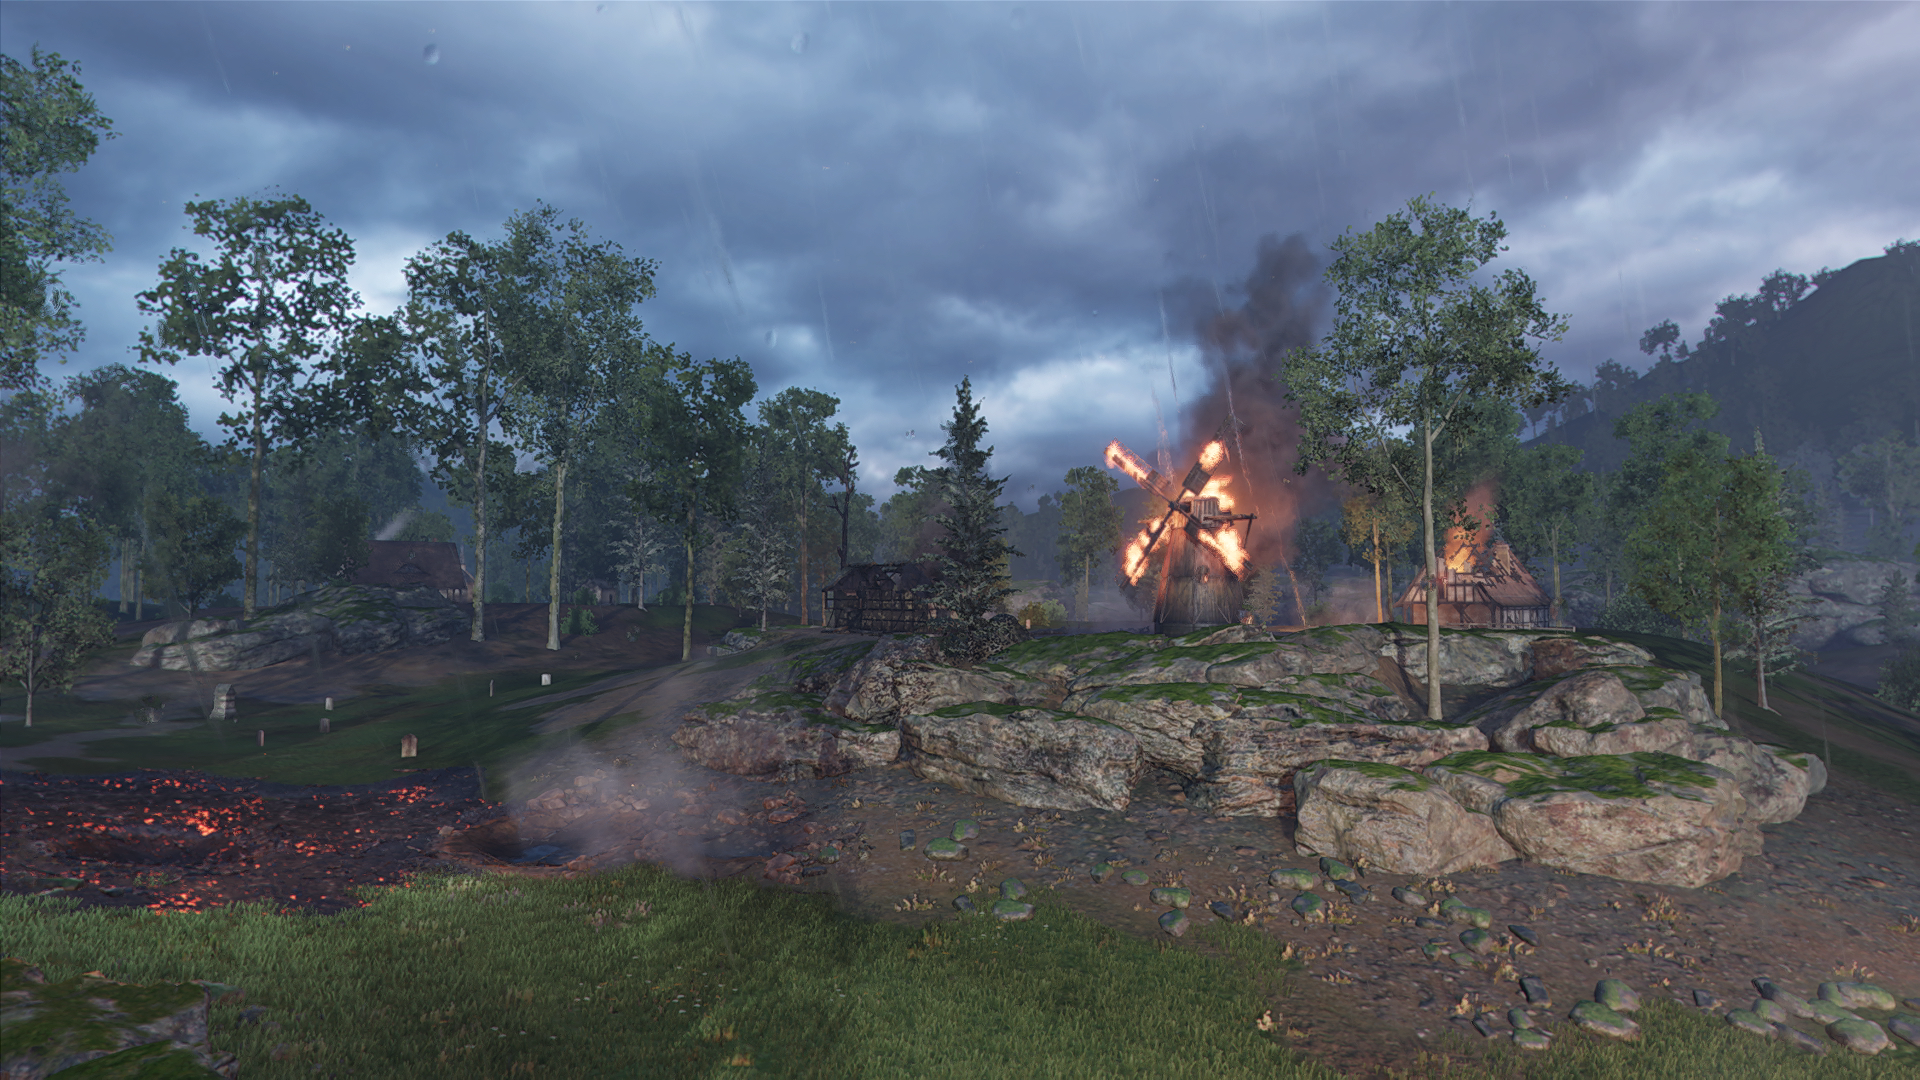
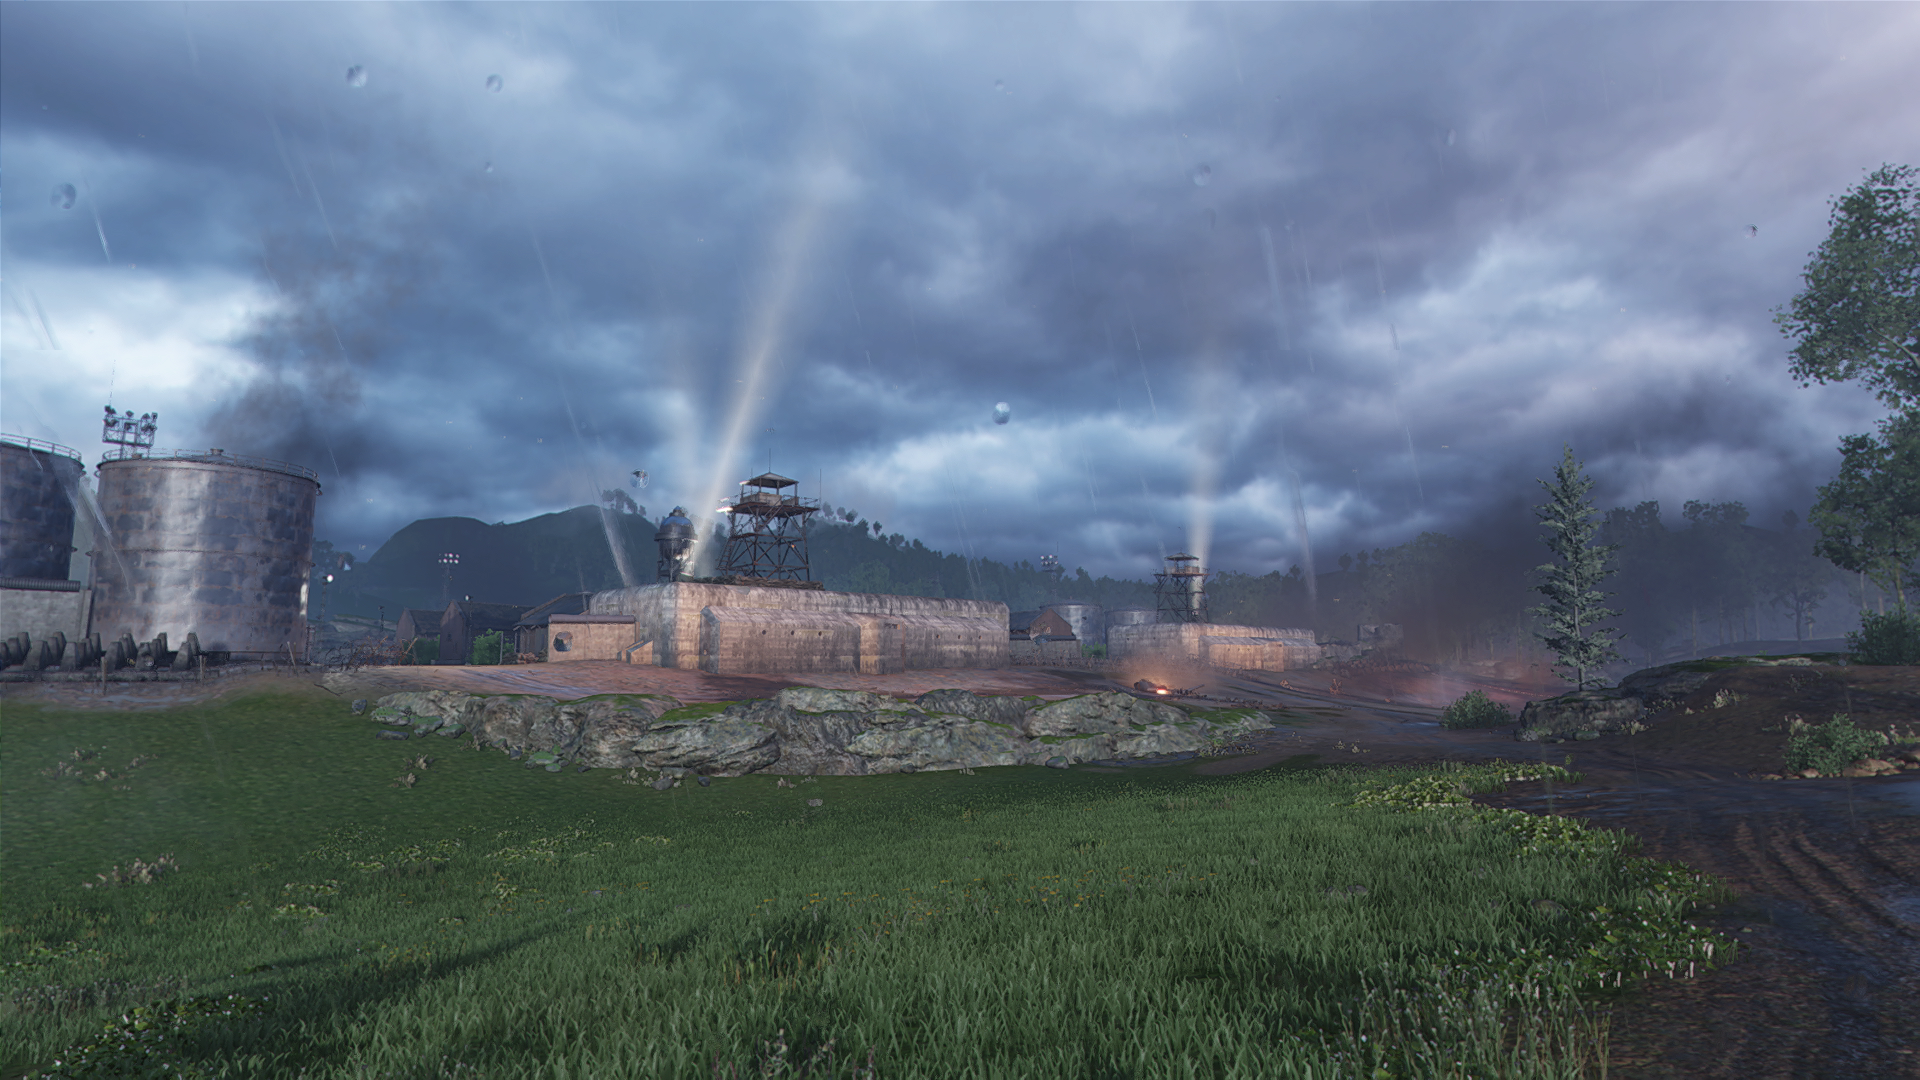
Take on the role of a British tanker assaulting Sword Beach during the Normandy invasion. Your mission: secure the beachhead by eliminating all enemies, push inland to take control of two key objective points, defeat the elite German forces, and destroy the enemy airbase.

  • Features a new endgame cinematic that will play in the background behind the Victory or Defeat display. The cinematic will change depending on whether you win or lose.

Securing victory will award the Sword Beach Trophy to display in your Customizable Garage!

Garage Gear - D-Day Sword Beach Trophy

For more information, see our D-Day: Sword Beach article. Good luck, and good hunting!

game_mode_bg_d_day_sword_beach

Updated Map! Sword Beach

Previously known as Caen, this map has been updated and renamed Sword Beach. This includes the new visual theme of the map, featuring a new theater of war, lighting, and visuals, all designed to transport you to 1944 Normandy.

  • World War II: Battle Tiers 9+
  • Cold War: All Eras
  • Size: 1200 x 1200
  • Modes: Standard, Team Destruction, Assault, Encounter
    • Custom Games: Multi-Base Assault
  • Camouflage Environment: Summer
Sword Beach Map - Screenshot 1
Sword Beach Map - Screenshot 2
Sword Beach Map - Screenshot 3

Regiments

  • Clans have been rebranded to "Regiments" and brought in-game. All existing Clans will remain intact and converted to a Regiment at no cost.
  • Use the new Regiments Tab to access all things Regiments. On this tab, you can create a Regiment, join a Regiment, view your Regiment Headquarters, or manage your Regiment.
  • Use the Regiment Headquarters to view the new Regiment member list. It will display your Regiment members and their online status. This makes platooning with other members easy as you simply click on the Regiment member and select “Invite to Platoon”! No need to add everyone to your personal friends list.
  • Along with Regiments comes a new exclusive currency, Regiment Coins! Spend your Regiment Coins in the new Regimental Store section, which contains Regiment exclusive content such as Emblems, Camo, and an exclusive tank at launch, the ARMT!
    • Earning Regiment Coins
      • Base Earnings
        • Regimental Coins can be earned through gameplay. These are static actions that will earn Regimental Coins. You can earn up to 40 Regimental Coins per battle for your base earnings.
          • Play a Battle: Rewards 10 Coins
          • Win a Battle: Rewards 10 Coins
          • Play a Platoon Battle with a Regiment member: 10 Coins
          • Win a Platoon Battle with a Regiment Member: 10 Coins
      • Premium Account Bonus
        • Premium Account provides a 50% bonus to your base earnings.
          • Example: If your base earnings are 40 Coins, you'll receive a total of 60 Coins with a Premium account.
          • Base Earning: 40 Coins
          • Premium Account Bonus: 20 Coins
      • Daily Missions
        • In addition to your base earnings, you can earn additional Regiment Coins by completing Daily Missions. Daily Missions are personal, so you must complete them yourself. They can be completed only once daily.
        • Daily Missions can be found in your Regiment Headquarters tab
    • The Post Battle Results Screen has been updated to display Regiment Coins. The detailed earnings page is now separated into two tabs, Currency & Experience Tabs

For more information, check out our new Regiments game guide, and see all the items available in the Regimental Store this season in the WoT’s Happening This Week! article to be published on June 3rd.

Regiments - Tank Reward
Regiments - Camo Reward 1
Regiments - Camo Reward 2
Regiments - Camo Reward 3
Regiments - Camo Reward 4

Improved Filter System

Filters are now independent from each other to improve the user experience. You can go to Cold War mode and set up a filter for your tank garage there, and it will not affect your World War II garage filters. This lets you set up filters without having to reset them each time you change game modes.

The same goes for the Premium Tech Tree filter; this is now independent from the garage filter. This all gives players greater control of what they want to see and where without affecting other filters in the game.

Improved Store Preview

You can now rotate tank previews to get a 360-degree view of the tank. This includes the Camo/Skin previews.

Improved Explosion FX and Audio

Explosions in the game have been updated, both visually and audibly. There are new destructive effects that will vary based on how a vehicle is destroyed, such as normal destruction, ramming, fire, and of course, ammo rack detonations!

New audio was added to accompany these visual updates and improved the prioritization logic for gun and explosions. This allows the explosion reflections to be heard more globally throughout the map for a more immersive experience. Taking advantage of the PS5 and Xbox Series X platform, we also increased the number of total audio instances that can be played at any given time.

  • “I don't understand this. What does it mean?” Simply put, loud things are louder with bigger explosions!

Tank Balance Changes

Expand all

World War II

Highlander 116-F3

  • Chassis 1
    • Terrain resistance: 1.1/1.4/2.5 -> 1/1.2/2.4
  • Turret 1
    • 130mm Type-62
      • Reload: 38.5 -> 37
      • Accuracy: 0.4 -> 0.38
      • Damage: 530/530/640 -> 545/545/640

Cold War

Type 59D

  • Health burn per second: 205 -> 218
  • Hull
    • Health: 2,560 -> 2,720
    • Armor panel 10:
      • Effective armor against ATGM penetration: 35mm -> 403mm
  • Chassis 1
    • Rotation speed: 48 -> 52
  • Turret 1
    • Health: 580 -> 680
    • Rotation speed: 34 -> 38
    • View range: 525 -> 560
    • Armor panel 19:
      • Effective armor against ATGM penetration: 35mm -> 600mm
    • 105mm Type 83A Rifled Gun
      • Accuracy: 0.28 -> 0.24
      • Reload: 6.6 -> 6.1
  • Radio
    • Range: 725 -> 760

Type 63-I

  • Chassis 1
    • Terrain resistance: 0.6/0.7/1.5 -> 0.5/0.55/1.3
    • Rotation speed: 40 -> 42
  • Chassis 2
    • Terrain resistance: 0.55/0.6/1.4 -> 0.4/0.45/1.1
    • Rotation speed: 42 -> 46
  • Turret 1
    • Rotation speed: 36 -> 40
    • 85mm Type 62-85TC
      • Accuracy: 0.36 -> 0.33
      • Reload: 5.4 -> 4.9
    • 85mm Type 62-85TC V2
      • Accuracy: 0.33 -> 0.3
      • Reload time: 5.2 -> 5.1
  • Turret 2
    • Rotation speed: 36 -> 40
    • 85mm Type 62-85TC
      • Accuracy: 0.36 -> 0.33
      • Reload: 5.4 -> 4.9
    • 85mm Type 62-85TC V2
      • Accuracy: 0.33 -> 0.3
      • Reload time: 5.2 -> 5.1
  • Radio 1
    • Range: 520 -> 550
  • Radio 2
    • Range: 580 -> 600
  • Radio 3
    • Range: 620 -> 650

NORINCO Type 62

  • Chassis 1
    • Terrain resistance: 0.6/0.65/1.5 -> 0.5/0.55/1.3
    • Rotation speed: 38 -> 40
  • Chassis 2
    • Terrain resistance: 0.55/0.6/1.3 -> 0.4/0.45/1.1
    • Rotation speed: 40 -> 44
  • Turret 1
    • 85mm Type 62-85TC
      • Reload: 5.6 -> 5.3
    • 85mm Type 62-85TC V2
      • Reload: 5.3 -> 5.1
  • Turret 2
    • 85mm Type 62-85TC
      • Reload: 5.6 -> 5.3
    • 85mm Type 62-85TC V2
      • Reload: 5.3 -> 5.1
  • Radio 1
    • Range: 520 -> 550
  • Radio 2
    • Range: 580 -> 600
  • Radio 3
    • Range: 620 -> 650

Type 62-I

  • Chassis 1
    • Terrain resistance: 0.6/0.65/1.5 -> 0.5/0.55/1.3
    • Rotation speed: 38 -> 42
  • Chassis 2
    • Terrain resistance: 0.55/0.6/1.3 ->0.4/0.45/1.1
    • Rotation speed: 42 -> 46
  • Turret 1
    • Rotation speed: 36 -> 38
  • Turret 2
    • Rotation speed: 36 -> 40
  • Radio 1
    • Range: 520 -> 550
  • Radio 2
    • Range: 580 -> 600
  • Radio 3
    • Range: 620 -> 650

Type 63HG

  • Health burn per second: 137 -> 141
  • Hull
    • Weight: 10,828 -> 10,598
    • Health: 1,720 -> 1,760
  • Chassis 1
    • Terrain resistance: 0.6/0.65/1.5 -> 0.5/0.55/1.3
    • Rotation speed: 36 -> 40
  • Chassis 2
    • Terrain resistance: 0.55/0.6/1.3 -> 0.4/0.45/1.1
    • Rotation speed: 38 -> 42
  • Turret 1
    • Health: 430 -> 440
    • View range: 510 -> 530
    • 105mm Type 83 Rifled Gun
      • Accuracy: 0.37 -> 0.34
      • Reload: 8 -> 7.7
    • 105mm Type 83 Rifled Gun v2
      • Accuracy: 0.34 -> 0.3
      • Reload: 7.7 -> 7.4
  • Turret 2
    • Health: 630 -> 640
    • 105mm Type 83 Rifled Gun
      • Accuracy: 0.37 -> 0.34
      • Reload: 8 -> 7.7
    • 105mm Type 83 Rifled Gun v2
      • Accuracy: 0.34 -> 0.3
      • Reload: 7.7 -> 7.4
  • Radio 1
    • Range: 540 -> 600
  • Radio 2
    • Range: 600 -> 650
  • Radio 3
    • Range: 640 -> 700

Type 63HG ’90

  • Health burn per second: 153 -> 160
  • Hull
    • Weight: 10,828 -> 10,598
    • Health: 1,920 -> 2,000
  • Chassis 1
    • Terrain resistance: 0.55/0.6/1.3 -> 0.4/0.45/1.1
    • Rotation speed: 44 -> 46
  • Turret 1
    • Health: 480 -> 500
    • Rotation speed: 40 -> 42
    • 105mm Type 83 Rifled Gun v2
      • Accuracy: 0.32 -> 0.28
      • Reload: 7.6 -> 7

Type 80

  • Health burn per second: 166 -> 170
  • Hull
    • Weight: 18,772 -> 18,472
    • Health: 2,080 -> 2,120
  • Chassis 1
    • Rotation speed: 44 -> 46
    • Dispersion factors during movement/rotation: 0.13/0.13 -> 0.09/0.09
  • Turret 1
    • Health: 480 -> 530
    • Rotation speed: 32 -> 36
    • View range: 480 -> 500
    • 105mm Type 83 Rifled Gun
      • Aim time: 2.1 -> 2

Type 80-II

  • Hull
    • Weight: 18,772 -> 18,472
  • Chassis 1
    • Rotation speed: 42 -> 44
  • Chassis 2
    • Rotation speed: 46 -> 48
  • Turret 1
    • View range: 460 -> 480
    • 105mm Type 83 Rifled Gun
      • Reload: 8.7 -> 8.4
  • Turret 2
    • View range: 490 -> 500
    • 105mm Type 83 Rifled Gun
      • Reload: 8.7 -> 8.4

Type 85-I

  • Hull
    • Armor panel 1:
      • 120mm -> 150mm
  • Chassis 1
    • Rotation speed: 46 -> 50
  • Chassis 2
    • Rotation speed: 48 -> 52
  • Turret 1
    • Armor panel 2:
      • Effective armor against ATGM penetration: 350mm -> 441mm
    • Armor panel 4:
      • 20mm -> 50mm
    • Armor panel 5:
      • 460mm -> 500mm
      • Effective armor against ATGM penetration: 460mm -> 650mm
    • Armor panel 18:
      • Effective armor against ATGM penetration: 360mm -> 454mm
    • Armor panel 24:
      • 320mm -> 380mm
      • Effective armor against ATGM penetration: 320mm -> 479mm
    • Rotation speed: 40 -> 44
    • View range: 510 -> 520
    • 105mm Type 83A Rifled Gun
      • Reload: 6.2 -> 5.9
  • Turret 2
    • Armor panel 2:
      • Effective armor against ATGM penetration: 350mm -> 441mm
    • Armor panel 4:
      • 20mm -> 50mm
    • Armor panel 5:
      • 460mm -> 500mm
      • Effective armor against ATGM penetration: 460mm -> 650mm
    • Armor panel 18:
      • Effective armor against ATGM penetration: 360mm -> 454mm
    • Armor panel 24:
      • 320mm -> 380mm
      • Effective armor against ATGM penetration: 320mm -> 479
    • Rotation speed: 42 -> 46
    • View range: 540 -> 560
    • 105mm Type 83A Rifled Gun
      • Reload: 6.2 -> 5.9

Type 85-IIM

  • Hull
    • Armor panel 1:
      • Effective armor against ATGM penetration: 95mm -> 128mm
    • Armor panel 9:
      • Effective armor against ATGM penetration: 25mm -> 80mm
      • Effective armor against HEAT penetration: 25mm -> 80mm
      • Effective armor against HE penetration: 25mm -> 80mm
    • Armor panel 14:
      • Effective armor against ATGM penetration: 50mm -> 68mm
    • Armor panel 28:
      • Effective armor against ATGM penetration: 95mm -> 128mm
    • Armor panel 29:
      • Effective armor against ATGM penetration: 130mm -> 175mm
  • Concealment
    • Moving: 0.075 -> 0.144
    • Still: 0.038 -> 0.072
    • On-fire penalty: 0.113 -> 0.144
  • Chassis 1
    • Rotation speed: 38 -> 42
  • Chassis 2
    • Rotation speed: 42 -> 46
  • Turret 1
    • View range: 465 -> 480
    • Weight: 10,3000 -> 9,102
    • Armor panel 2:
      • Effective armor against ATGM penetration: 350mm -> 441mm
    • Armor panel 5:
      • Effective armor against ATGM penetration: 460mm -> 598mm
    • Armor panel 18:
      • Effective armor against ATGM penetration: 360mm -> 454mm
    • Armor panel 20:
      • Effective armor against ATGM penetration: 350mm -> 441mm
    • Armor panel 24:
      • Effective armor against ATGM penetration: 320mm -> 403mm
    • Armor panel 28:
      • Effective armor against ATGM penetration: 320mm -> 403mm
    • 125mm 2A46 Smoothbore Gun
      • Aim time: 2.2 -> 2.1
      • Reload: 8.6 -> 8.4
    • 125mm 2A46M Smoothbore Gun
      • Reload Time: 8.4 -> 8.2
  • Turret 2
    • View range: 485 -> 520
    • Weight: 10,300 -> 9,102
    • Armor panel 2:
      • Effective armor against ATGM penetration: 350mm -> 441mm
    • Armor panel 5:
      • Effective armor against ATGM penetration: 460mm -> 598mm
    • Armor panel 18:
      • Effective armor against ATGM penetration: 360mm -> 454mm
    • Armor panel 20:
      • Effective armor against ATGM penetration: 350mm -> 441mm
    • Armor panel 24:
      • Effective armor against ATGM penetration: 320mm -> 403mm
    • Armor panel 28:
      • Effective armor against ATGM penetration: 320mm -> 403mm
    • 125mm 2A46 Smoothbore Gun
      • Aim time: 2.2 -> 2.1
      • Reload: 8.6 -> 8.4
    • 125mm 2A46M Smoothbore Gun
      • Reload time: 8.4 -> 8.2
  • Radio 1
    • Weight: 40 -> 16

Type 85-III

  • Hull
    • Armor panel 1:
      • Effective armor against ATGM penetration: 95mm -> 128mm
    • Armor panel 9:
      • Effective armor against ATGM penetration: 25mm -> 80mm
      • Effective armor against HEAT penetration: 25mm -> 80mm
      • Effective armor against HE penetration: 25mm -> 80mm
    • Armor panel 14:
      • Effective armor against ATGM penetration: 50mm -> 68
    • Armor panel 26:
      • Removed ATGM damage reduction factor
    • Armor panel 28:
      • Effective armor against ATGM penetration: 95mm -> 128mm
    • Armor panel 29:
      • Effective armor against ATGM penetration: 130mm -> 176mm
  • Concealment
    • Moving: 0.075 -> 0.144
    • Still: 0.038 -> 0.072
    • On-fire penalty: 0.114 -> 0.216
  • Chassis 1
    • Rotation Speed: 40 -> 42
  • Turret 1
    • View range: 460 -> 510
    • Weight: 10,880 -> 9,682
    • Armor panel 2:
      • Effective armor against ATGM penetration: 350mm -> 441mm
    • Armor panel 5:
      • Effective armor against ATGM penetration: 460mm -> 598mm
    • Armor panel 18:
      • Effective armor against ATGM penetration: 360mm -> 454mm
    • Armor panel 20:
      • Effective armor against ATGM penetration: 350mm -> 441mm
    • Armor panel 24:
      • Effective armor against ATGM penetration: 320mm -> 403mm
    • Armor panel 26:
      • Removed ATGM damage reduction factor
    • Armor panel 28:
      • Effective armor against ATGM penetration: 320mm -> 403mm
    • 125mm 2A46M Smoothbore Gun
      • Dispersion penalty during turret rotation: 0.08 -> 0.06
      • Reload: 8.5 -> 8.2
    • 125mm Type 88C Smoothbore Gun
      • Aim time: 2.1 -> 2
      • Reload: 8.3 -> 8
  • Turret 2
    • View range: 480 -> 540
    • Weight: 10,880 -> 9,682
    • Armor panel 2:
      • Effective armor against ATGM penetration: 350mm -> 441mm
    • Armor panel 5:
      • Effective armor against ATGM penetration: 460mm -> 598mm
    • Armor panel 18:
      • Effective armor against ATGM penetration: 360mm -> 454mm
    • Armor panel 20:
      • Effective armor against ATGM penetration: 350mm -> 441mm
    • Armor panel 24:
      • Effective armor against ATGM penetration: 320mm -> 403mm
    • Armor panel 26:
      • Removed ATGM damage reduction factor
    • Armor panel 28:
      • Effective armor against ATGM penetration: 320mm -> 403mm
    • 125mm 2A46M Smoothbore Gun
      • Dispersion penalty during turret rotation: 0.08 -> 0.06
      • Reload: 8.5 -> 8.2
    • 125mm Type 88C Smoothbore Gun
      • Aim time: 2.1 -> 2
      • Reload: 8.3 -> 8
  • Radio 1
    • Weight: 40 -> 16

Type 88A

  • Health burn per second: 196 -> 205
  • Hull
    • Armor panel 1: 120mm -> 150mm
    • Health: 2,440 -> 2,560
  • Chassis 1
    • Rotation speed: 44 -> 48
  • Chassis 2
    • Rotation speed: 46 -> 50
  • Turret 1
    • Rotation speed: 36 -> 40
    • View range: 495 -> 520
    • Health: 610 -> 640
    • 105mm Type 83-I Rifled Gun
      • Reload: 6.1 -> 5.8
    • 105mm Type 83-I Rifled Gun v2
      • Reload: 5.9 -> 5.8
  • Turret 2
    • Rotation speed: 38 -> 42
    • View range: 525 -> 560
    • Health: 810 -> 840
    • 105mm Type 83-I Rifled Gun
      • Reload: 6.1 -> 5.8
    • 105mm Type 83-I Rifled Gun v2
      • Reload: 5.9 -> 5.8
  • Engine 2
    • Forward speed: 65.9 -> 70.8
    • Reverse speed: 24.1 -> 25.8

Type 89

  • Health burn per second: 192 -> 205
  • Hull
    • Health: 2,400 -> 2,560
  • Chassis 1
    • Terrain resistance: 0.5/0.6/1.5 -> 0.45/0.5/1.2
    • Rotation speed: 34 -> 36
  • Chassis 2
    • Terrain resistance: 0.45/0.55/1.3 -> 0.4/0.45/1.1
    • Rotation speed: 38 -> 40
  • Turret 1
    • Weight: 5,315 -> 5,339
    • Health: 600 -> 640
    • Rotation speed: 34 -> 36
    • View range: 535 -> 570
    • 120mm Smoothbore L50
      • Accuracy: 0.25 -> 0.23
      • Reload: 7.2 -> 6.9
    • 120mm Smoothbore L50 v2
      • Accuracy: 0.22 -> 0.2
      • Reload: 7 -> 6.7
  • Turret 2
    • Weight: 5,315 -> 5,339
    • Health: 800 -> 840
    • Rotation speed: 36 -> 38
    • View range: 555 -> 600
    • 120mm Smoothbore L50
      • Accuracy: 0.25 -> 0.23
      • Reload: 7.2 -> 6.9
    • 120mm Smoothbore L50 v2
      • Accuracy: 0.22 -> 0.2
      • Reload: 7 -> 6.7
  • Radio 1
    • Weight: 40 -> 16

Type 90-II

  • Hull
    • Armor panel 1:
      • Effective armor against ATGM penetration: 200mm -> 240mm
    • Armor panel 2:
      • Effective armor against ATGM penetration: 170mm -> 204mm
    • Armor panel 9:
      • Effective armor against ATGM penetration: 25mm -> 80mm
      • Effective armor against HEAT penetration: 25mm -> 80mm
      • Effective armor against HE penetration: 25mm -> 80mm
    • Armor panel 14: Effective armor against ATGM penetration: 170mm -> 204mm
    • Armor panel 17: Effective armor against ATGM penetration: 260mm -> 312mm
  • Concealment
    • Moving: 0.075 -> 0.136
    • Still: 0.038 -> 0.068
    • On-fire penalty: 0.075 -> 0.136
  • Chassis 1
    • Rotation speed: 34 -> 38
  • Chassis 2
    • Rotation speed: 38 -> 40
  • Turret 1
    • View range: 495 -> 540
    • Weight: 11,640 -> 10,262
    • Armor panel 2:
      • Effective armor against ATGM penetration: 430mm -> 555mm
    • Armor panel 5:
      • Effective armor against ATGM penetration: 460mm -> 598mm
    • Armor panel 18:
      • Effective armor against ATGM penetration: 440mm -> 568mm
    • Armor panel 24:
      • Effective armor against ATGM penetration: 390mm -> 491mm
    • Armor panel 28:
      • Effective armor against ATGM penetration: 390mm -> 491mm
    • 125mm 2A46M Smoothbore Gun
      • Reload: 8.2 -> 7.7
    • 125mm Smoothbore Type 90
      • Reload: 8 -> 7.5
  • Radio 1
    • Weight: 40 -> 16

WZ-141 Second Prototype

  • 2x Type 75 105mm Recoilless Rifles
    • Reload: 17 -> 15.8
  • 2x HJ-73 Rail Launchers
    • Reload: 38 -> 35

WZ-132 model 3

  • Health burn per second: 128 -> 134
  • Hull
    • Health: 1,600 -> 1,680
  • Chassis 1
    • Terrain resistance: 0.6/0.7/1.7 -> 0.5/0.55/1.3
    • Rotation speed: 42 -> 44
  • Chassis 2
    • Terrain resistance: 0.6/0.65/1.5 -> 0.4/0.45/1.1
    • Rotation speed: 45 -> 46
  • Turret 1
    • Health: 400 -> 420
    • View range: 490 -> 520
    • 100mm 60-100TA
      • Accuracy: 0.37 -> 0.33
      • Reload: 7.1 -> 6
    • 100mm 62-100TA
      • Accuracy: 0.35 -> 0.31
      • Reload: 6.7 -> 6.2
  • Turret 2
    • Health: 600 -> 620
    • View range: 510 -> 550
    • 100mm 60-100TA
      • Accuracy: 0.37 -> 0.33
      • Reload: 7.1 -> 6
    • 100mm 62-100TA
      • Accuracy: 0.35 -> 0.31
      • Reload: 6.7 -> 6.2
  • Radio 1
    • Range: 540 -> 600
  • Radio 2
    • Range: 600 -> 650
  • Radio 3
    • Range: 640 -> 700

Additional Improvements

  • New Friends List interface
  • New Combat Training mission for new players
  • Added custom Marks of Excellence for Teenage Mutant Ninja Turtle vehicles:
Tank Marks of Excellence
Shred_Tread Marks of Excellence

Party_Wagon Marks of Excellence

Technodrome Marks of Excellence

Footcruiser Marks of Excellence

Issues Addressed

General:

  • Event Modes: Filters no longer reset after playing a match or accessing various menus.
  • "New" indicator on the garage customization list now uses the correct gold star icon.
  • The Monkey King icon now displays correctly on the PBRS.
  • Siege Mode vehicles now work correctly after respawning.
  • Note: Daily Season Challenges are now disabled after reaching Stage 125. This change is part of our ongoing effort to streamline the player experience, and we’ll continue to monitor feedback.


Tanks:


Maps:

  • Lakeville: Added a physics blocker to grid G4 to prevent access that allowed players to climb the mountain.
  • Live Oaks: Corrected collisions on the church at A2 to match the visual.
RECENT NEWS
Gods of Thunder Key Art
GODS OF THUNDER - Complete Season Information
July 25, 2025 NEWS
Regiments Overview - Header
🛠️Dev Blog: A Work-in-Progress Look at Commander Skills, Equipment, & Consumables Rework
July 23, 2025 NEWS
Overlord Season Key Art
LAST CHANCE: Overlord Season
July 23, 2025 NEWS